Cascable’s Shutter Robot is a powerful tool for automating shots that require long exposure time, multiple exposures, or both. While we’ve tried to make Shutter Robot as smart as possible, there’s still a few things that you may need to keep in mind to make sure your shot timing stays accurate and reliable.
We’ve put together some tips and tricks that’ll help you get the very best results from Shutter Robot and your camera.
All of the photos in this article (except the one of the Sony camera) were shot with Shutter Robot.
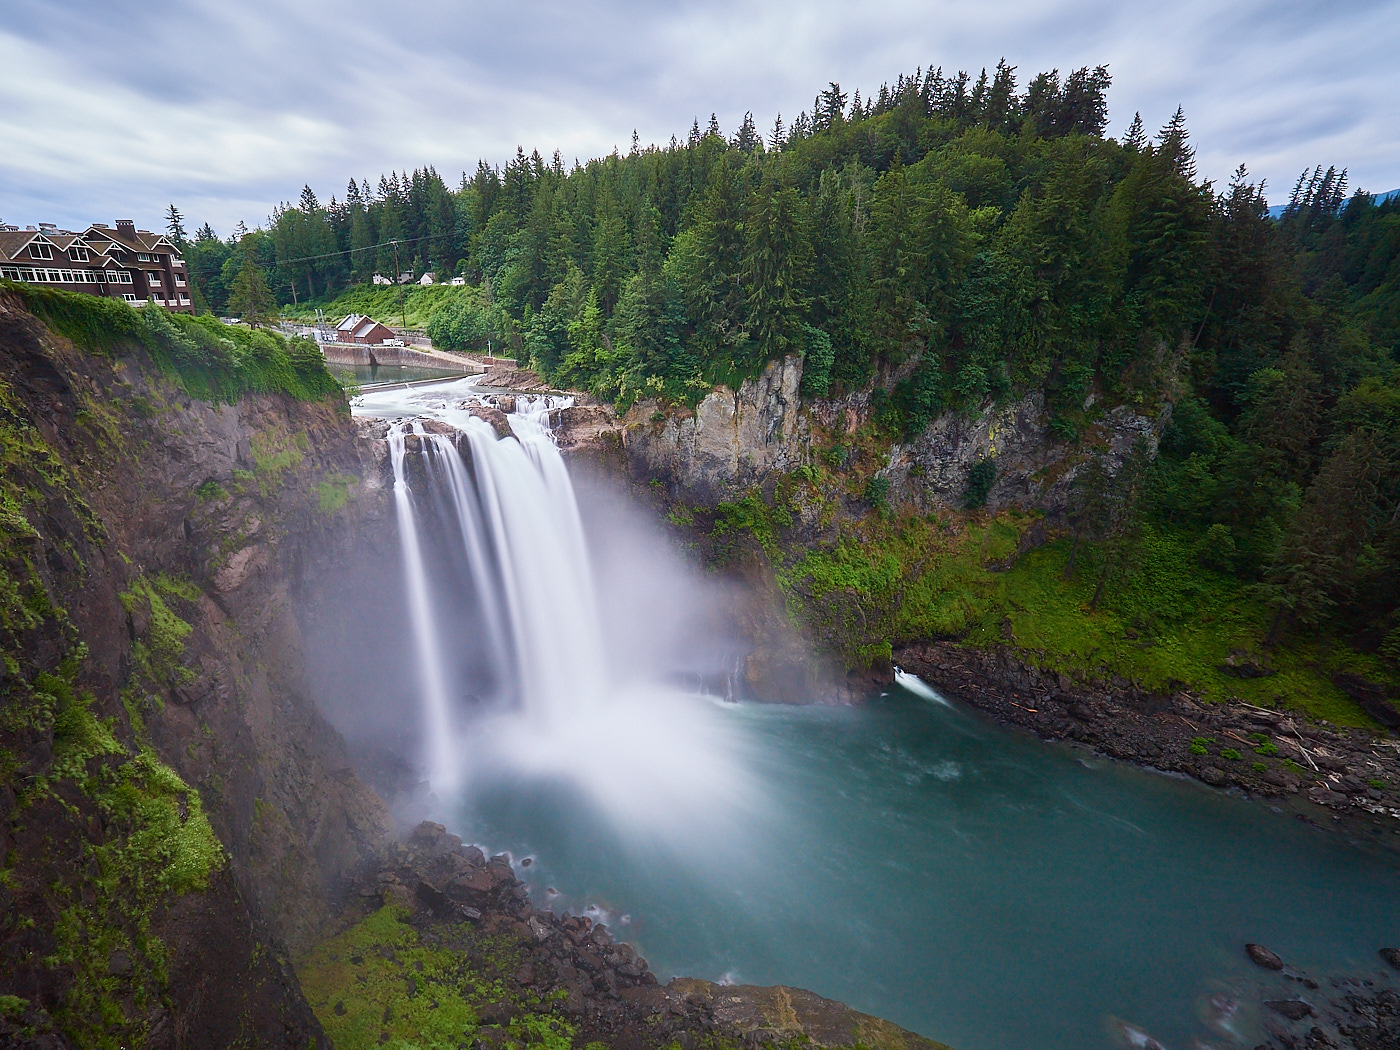
Shot with an Olympus OM-D E-M5 Mark II and a 10-stop ND filter
ISO 200, Shutter Speed 30s, Aperture f/8, Focal Length 7mm (35mm equivalent: 14mm)
Canon and Nikon Models: Disable Live View During Shooting
In order for you to see the camera’s viewfinder image on your iOS device, a continuous stream of images needs to be sent from the camera to Cascable. Nikon and Canon cameras do this serially — while a viewfinder image is being transferred, no other command can execute until that transfer is complete. While Cascable does slow down the framerate of the viewfinder stream while Shutter Robot is running, this process can still cause timing inaccuracies with Shutter Robot’s shots.
Fortunately, all Nikon SLR and higher-end Canon models (70D, 80D, and all full frame SLR models) allow you to run them without viewfinder image streaming. This will completely stop the viewfinder stream from interfering with your shots, and will significantly reduce the battery consumption of both your camera and Cascable.
To stop the viewfinder stream, on iPad, tap the ![]() button at the left-hand side of the bottom toolbar. On iPhone, tap the
button at the left-hand side of the bottom toolbar. On iPhone, tap the ![]() button to show the expanded toolbar, then the
button to show the expanded toolbar, then the ![]() button. Tap again to re-enable the viewfinder stream.
button. Tap again to re-enable the viewfinder stream.
If you don’t have this icon, unfortunately your camera doesn’t support running without the viewfinder stream.
Fujifilm, Olympus, Panasonic, and Sony models stream the viewfinder image to Cascable in a way that doesn’t interfere with other operations, so this isn’t neccessary (or supported) on these cameras.

Shot with an Olympus OM-D E-M5 Mark II
ISO 1600, Shutter Speed 27s, Aperture f/2.8, Focal Length 14mm (35mm equivalent: 28mm)
Turn Off Autofocus
If you leave autofocus enabled on your camera, it will attempt to re-acquire focus every time Shutter Robot attempts to take a shot. This can significantly increase the time it takes for the shot to be taken, which will make your shot timings inaccurate and, especially in low light, cause your shots to start backing up. Additionally, your camera might decide to focus on a different thing halfway through your shoot, or fail to focus entirely!
The best approach for avoiding this problem is to establish focus before you start, then switch your camera to manual focusing — depending on your camera, this might be done with a physical switch on your lens, on your camera body, or within Cascable itself.

Shot with an Olympus OM-D E-M1 Mark II, eight separate exposures stacked and averaged
Each exposure ISO 1600, Shutter Speed 30s, Aperture f/2.8, Focal Length 7mm (35mm equivalent: 14mm)
Noise Reduction
If you’re taking long exposures using the Bulb Timer, a camera setting you need to pay attention to is “Long Exposure Noise Reduction”. This setting has a slightly different name depending on your camera manufacturer:
- Fujifilm: Long Exposure NR
- Canon: Long exposure noise reduction / Long exp. noise reduction
- Nikon: Long exposure NR
- Olympus: Noise Reduction / Noise Reduct.
- Panasonic: Long Shtr NR
- Sony: Long Exposure NR
If this setting is enabled, after taking a long exposure your camera will take a second exposure of equal length in order to try and reduce noise in the first image. While this second exposure is happening, your camera will be completely unresponsive to taking new shots.
There are two ways to avoid this, depending on your needs: You can either increase the Time Between Shots setting of the Bulb Timer to allow enough time for this to happen (make sure you leave some wiggle room — if your shot duration is 30 seconds, you might want to leave 40 seconds between shots), or you can disable the “Long Exposure Noise Reduction” setting entirely while shooting.

Shot with a Canon EOS 6D and a prerelease version of Cascable 1.0
ISO 100, Shutter Speed 12 minutes, Aperture f/8, Focal Length 25mm
Leave Enough Cycle Time Between Shots
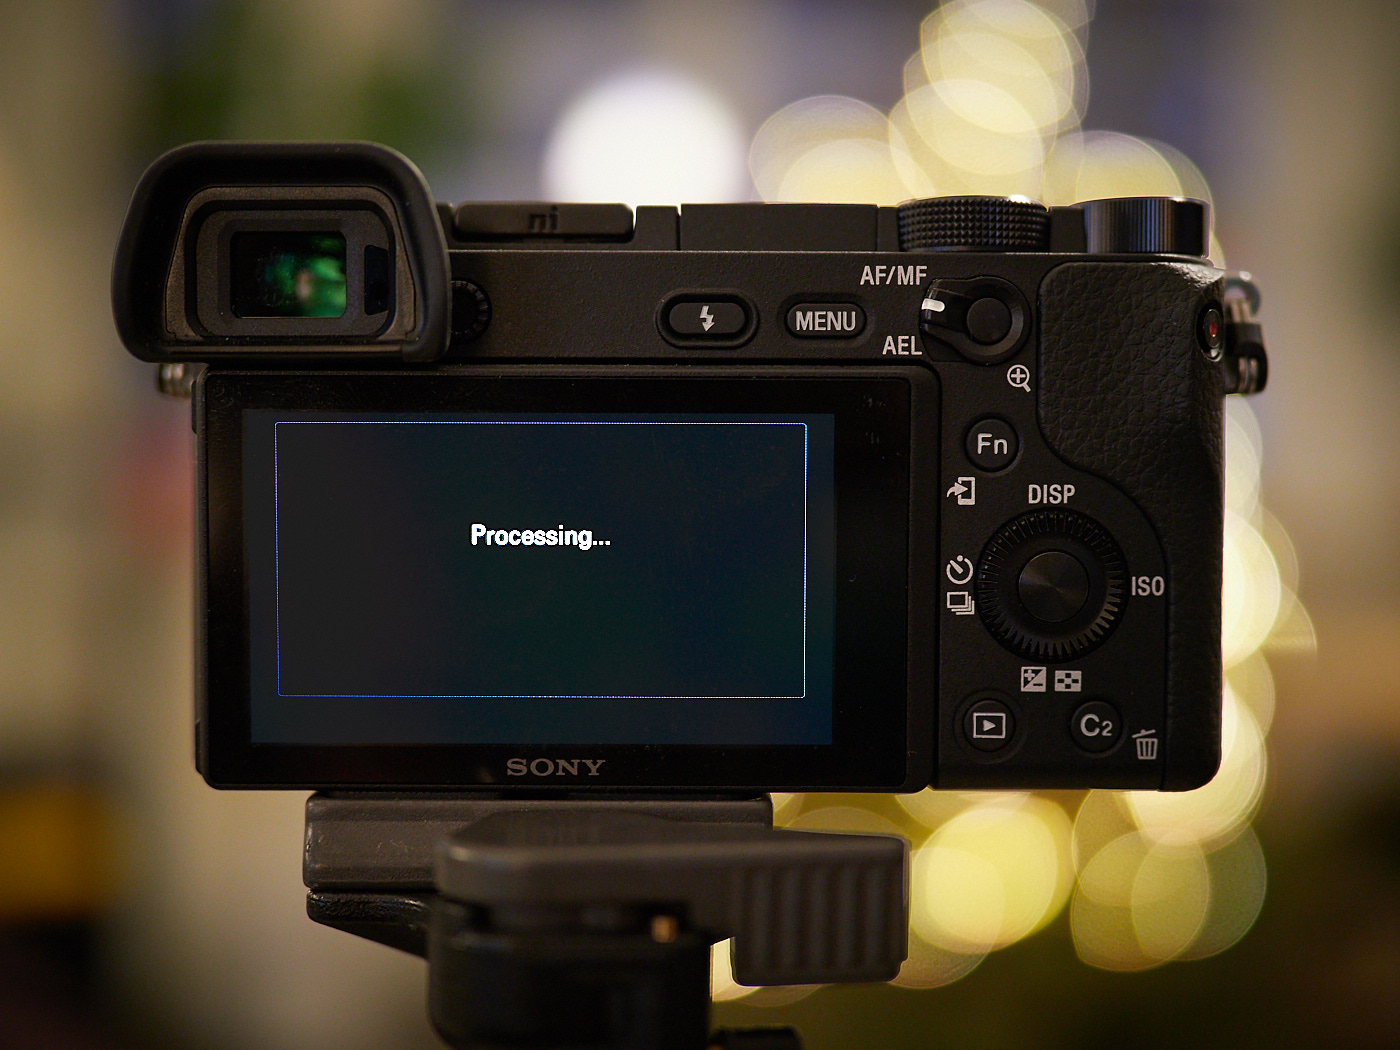
Even if your camera has a very fast continuous shooting rate, when shooting in single shot mode (as is typical when shooting using Shutter Robot), it may not be responsive to taking new shots until the previous one has finished writing to your SD card.
You can get a gauge for this by watching your camera’s screen while you take a normal shot with Cascable. Sony models, for instance, display a big Processing box while writing to the SD card when apps like Cascable are connected.
Shot with an Olympus OM-D E-M1 Mark II
ISO 800, Shutter Speed 1/50s, Aperture f/1.2, Focal Length 25mm (35mm equivalent: 50mm)
If you don’t leave enough time between shots, your shot timing will be erratic and you may even miss shots entirely. You can reduce the time your camera needs for this process by decreasing your image size and/or getting a faster SD card.
Keep In Touch!
We hope these tips help you get some amazing results when taking more complex shots. Don’t forget to get in touch and let us know how you’re getting on! We love seeing the photos you create with Cascable.
You can keep in touch in a number of ways:
We’ll be posting handy tips and tricks on this blog, and you can subscribe to our RSS feed here.
You can follow us on Twitter, Instagram and Facebook for byte-sized looks into life at Cascable.
You can subscribe to our email newsletter. It’s very low-volume, and we’ll use it to send you the occasional email about Cascable updates and new features.


